Help & Guide
Track live game stats, manage your roster, share results, and export data — all from the sideline.
Section 1
Statty is organized around your organization — your school, club, or association. Everything lives under one org, and you can run multiple sports and programs from it.
Each organization gets a unique invite code. Share it with your co-coach — they'll enter it when signing up and will get full access to the same programs and game data.
Find your invite code two ways: tap Invite Someone at the bottom of the home screen, or tap ⚙ → your code is listed under Invite Code with a Copy button.
If someone else has already set up your organization and sent you an invite code, don't create a new org — join theirs instead.
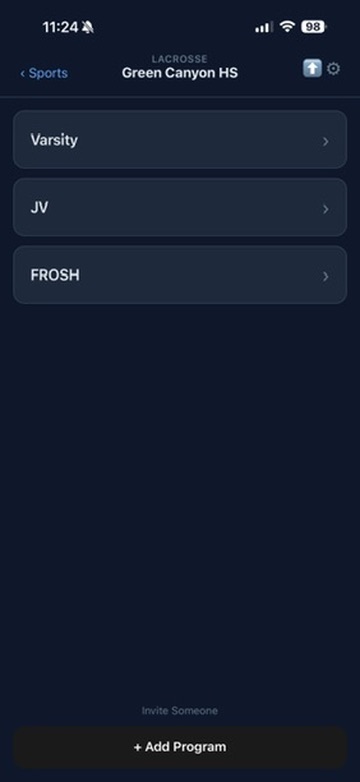
The home screen — your programs, invite link, and settings all in one place
Section 2
A program is a single team — for example, "Varsity", "JV", or "FROSH". You can have as many programs as you need, and they're organized by sport.
The home screen shows programs for one sport at a time. Tap ‹ Sports in the top-left to go back to the sport selector and switch to a different sport.
Tap the ⬆ share icon in the top-right of the home screen to copy a link to your public program schedule. Anyone with the link can see your full season schedule and tap any game to follow along live.
Tap the ⚙ gear icon in the top-right of the home screen to open Settings. Here's what each section does:
| Section | What you can do |
|---|---|
| Organization | Edit your organization name. Tap Edit to update it — changes apply everywhere immediately. |
| Invite Code | Your org's unique invite code. Tap Copy to share it with a co-coach. Anyone who enters this code when signing up will join your org with Coach access. |
| Members | See everyone who has access to your org, with their role (Admin or Coach). Tap Remove next to a Coach to revoke their access. |
| Appearance | Toggle between Light and Dark theme. |
| Sign Out | Signs you out on this device. Your data stays in the cloud and will be there when you sign back in. |
| Delete Account | Permanently deletes your account and all associated data. This cannot be undone. |
Section 3
Players belong to a program. You can add them from the program screen or import them in bulk.
Tap Import Players on the Roster tab. You can paste a list in the format:
20, J, Smith
 5, A, Jones
14, T, Williams
Format: jersey number, first initial, last name — one player per line.
Tap any player row on the Roster tab to edit their details. Toggle Active off to remove them from game-day pickers without deleting their history.
Section 4
To add multiple games at once, tap Import Schedule at the bottom of the program screen. Paste your schedule in the format below — one game per line. Date and opponent are required; time and home/away are optional.
4/15/2026, Mountain Ridge, 4:00 PM, home
4/18/2026, Hillcrest, away
4/22/2026, Logan
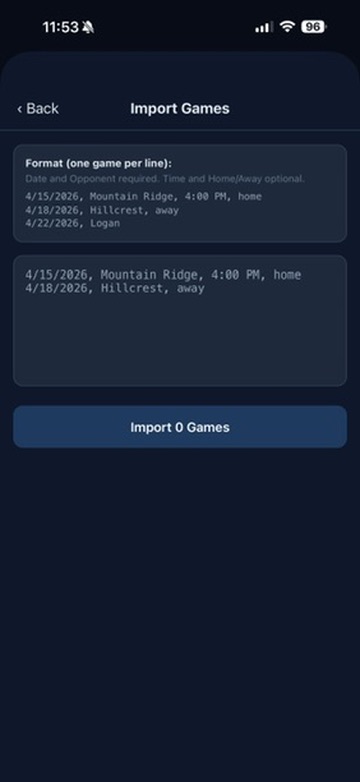
Paste your full schedule and tap Import
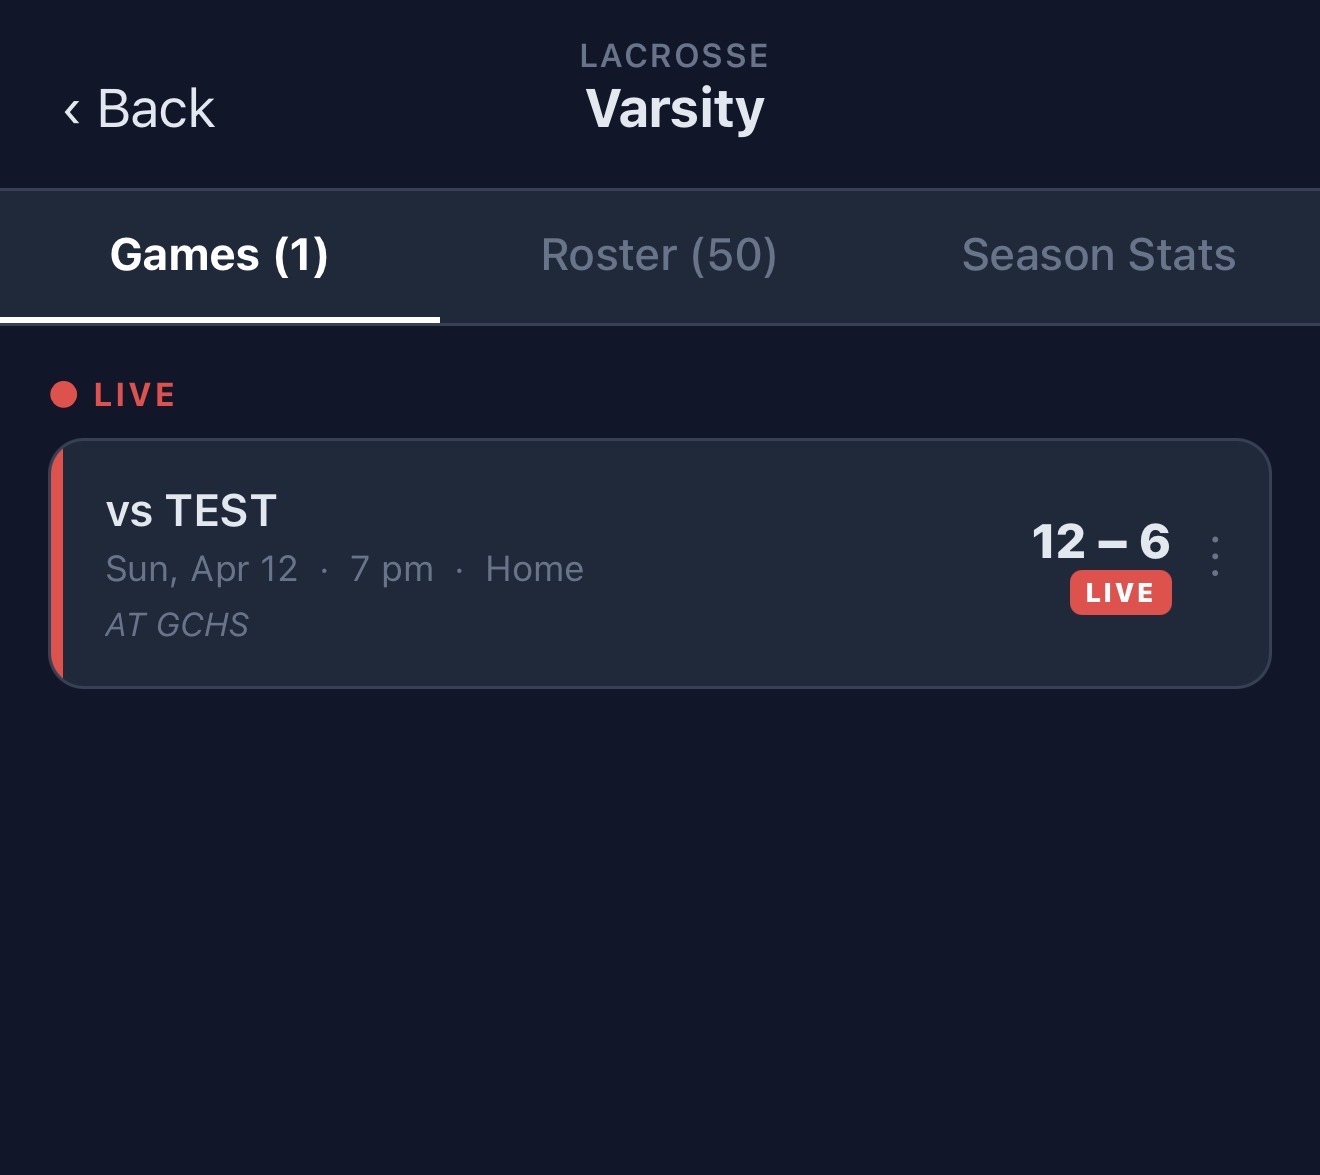
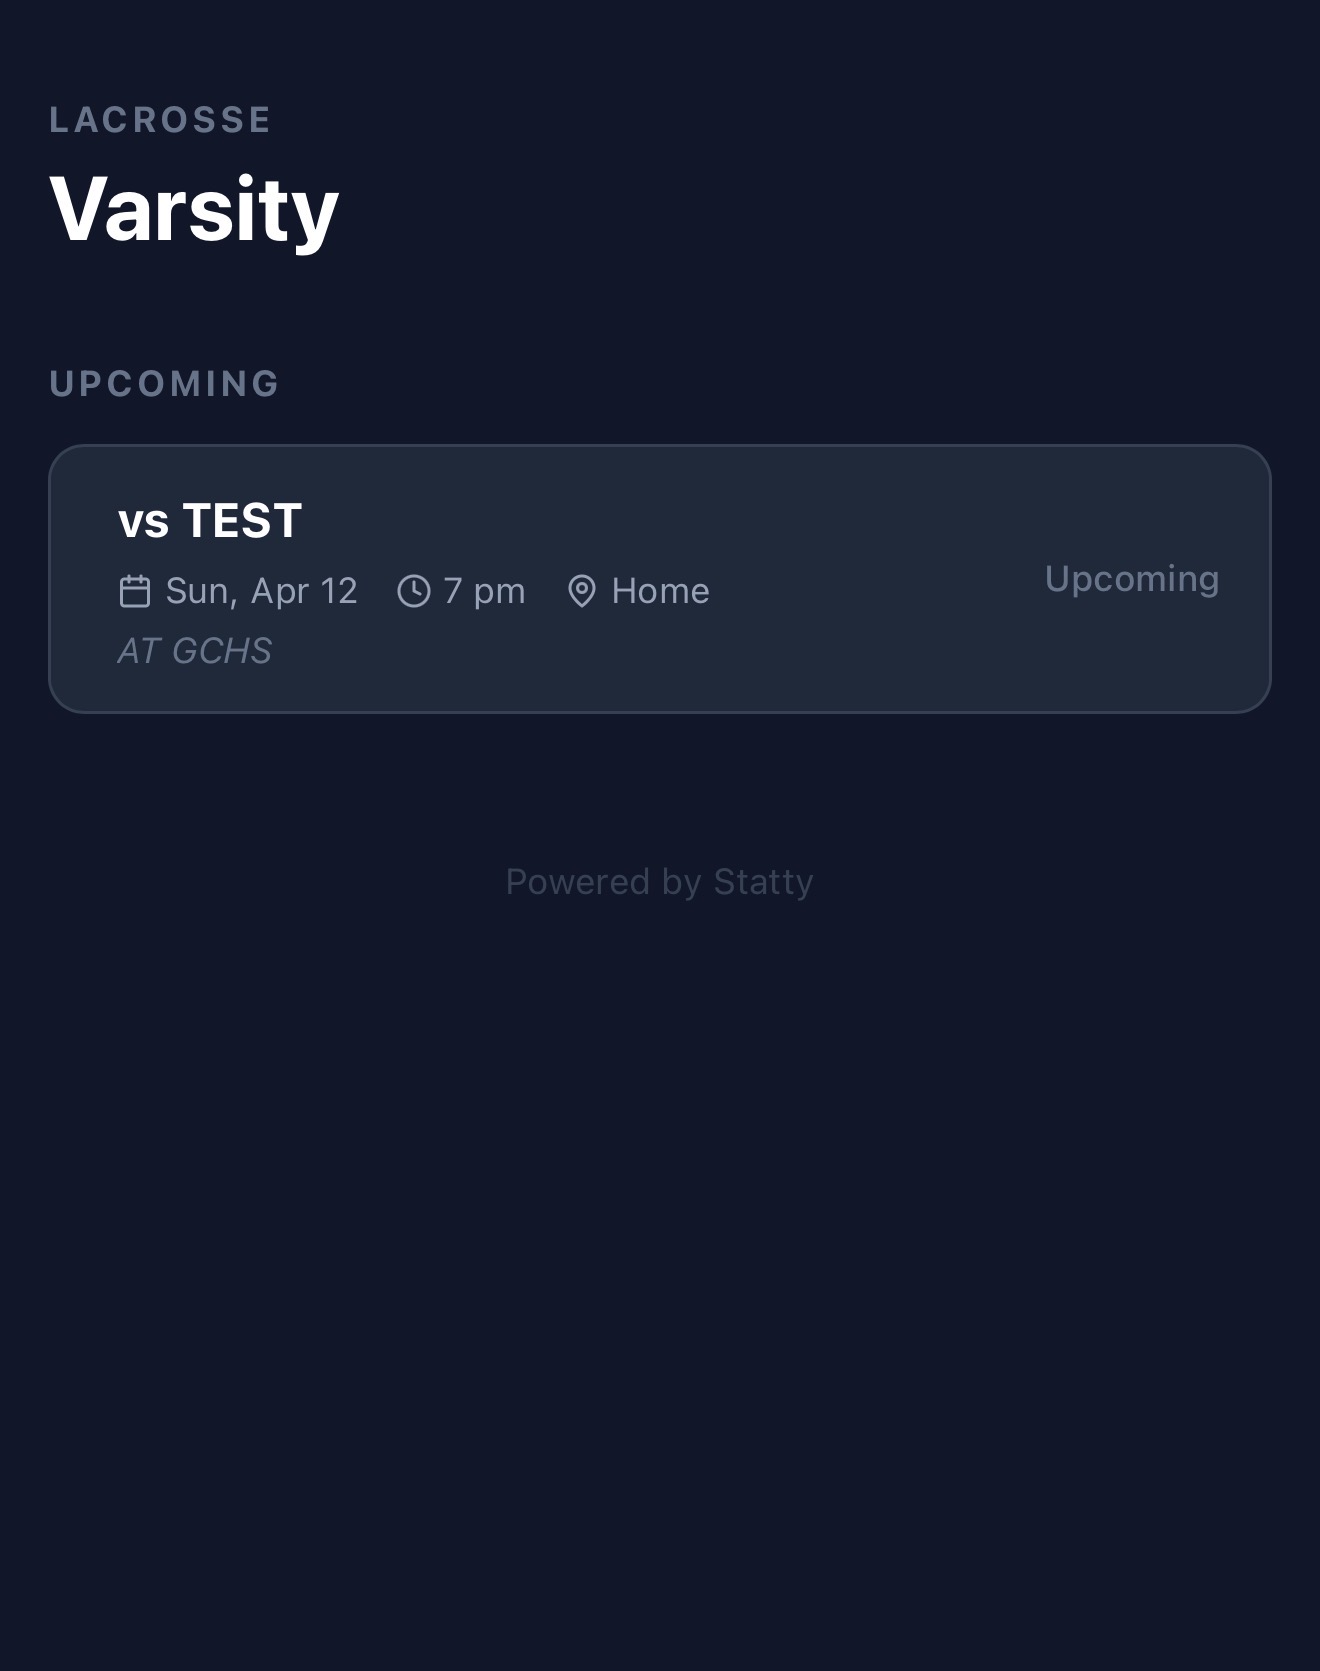
A live game on the program schedule
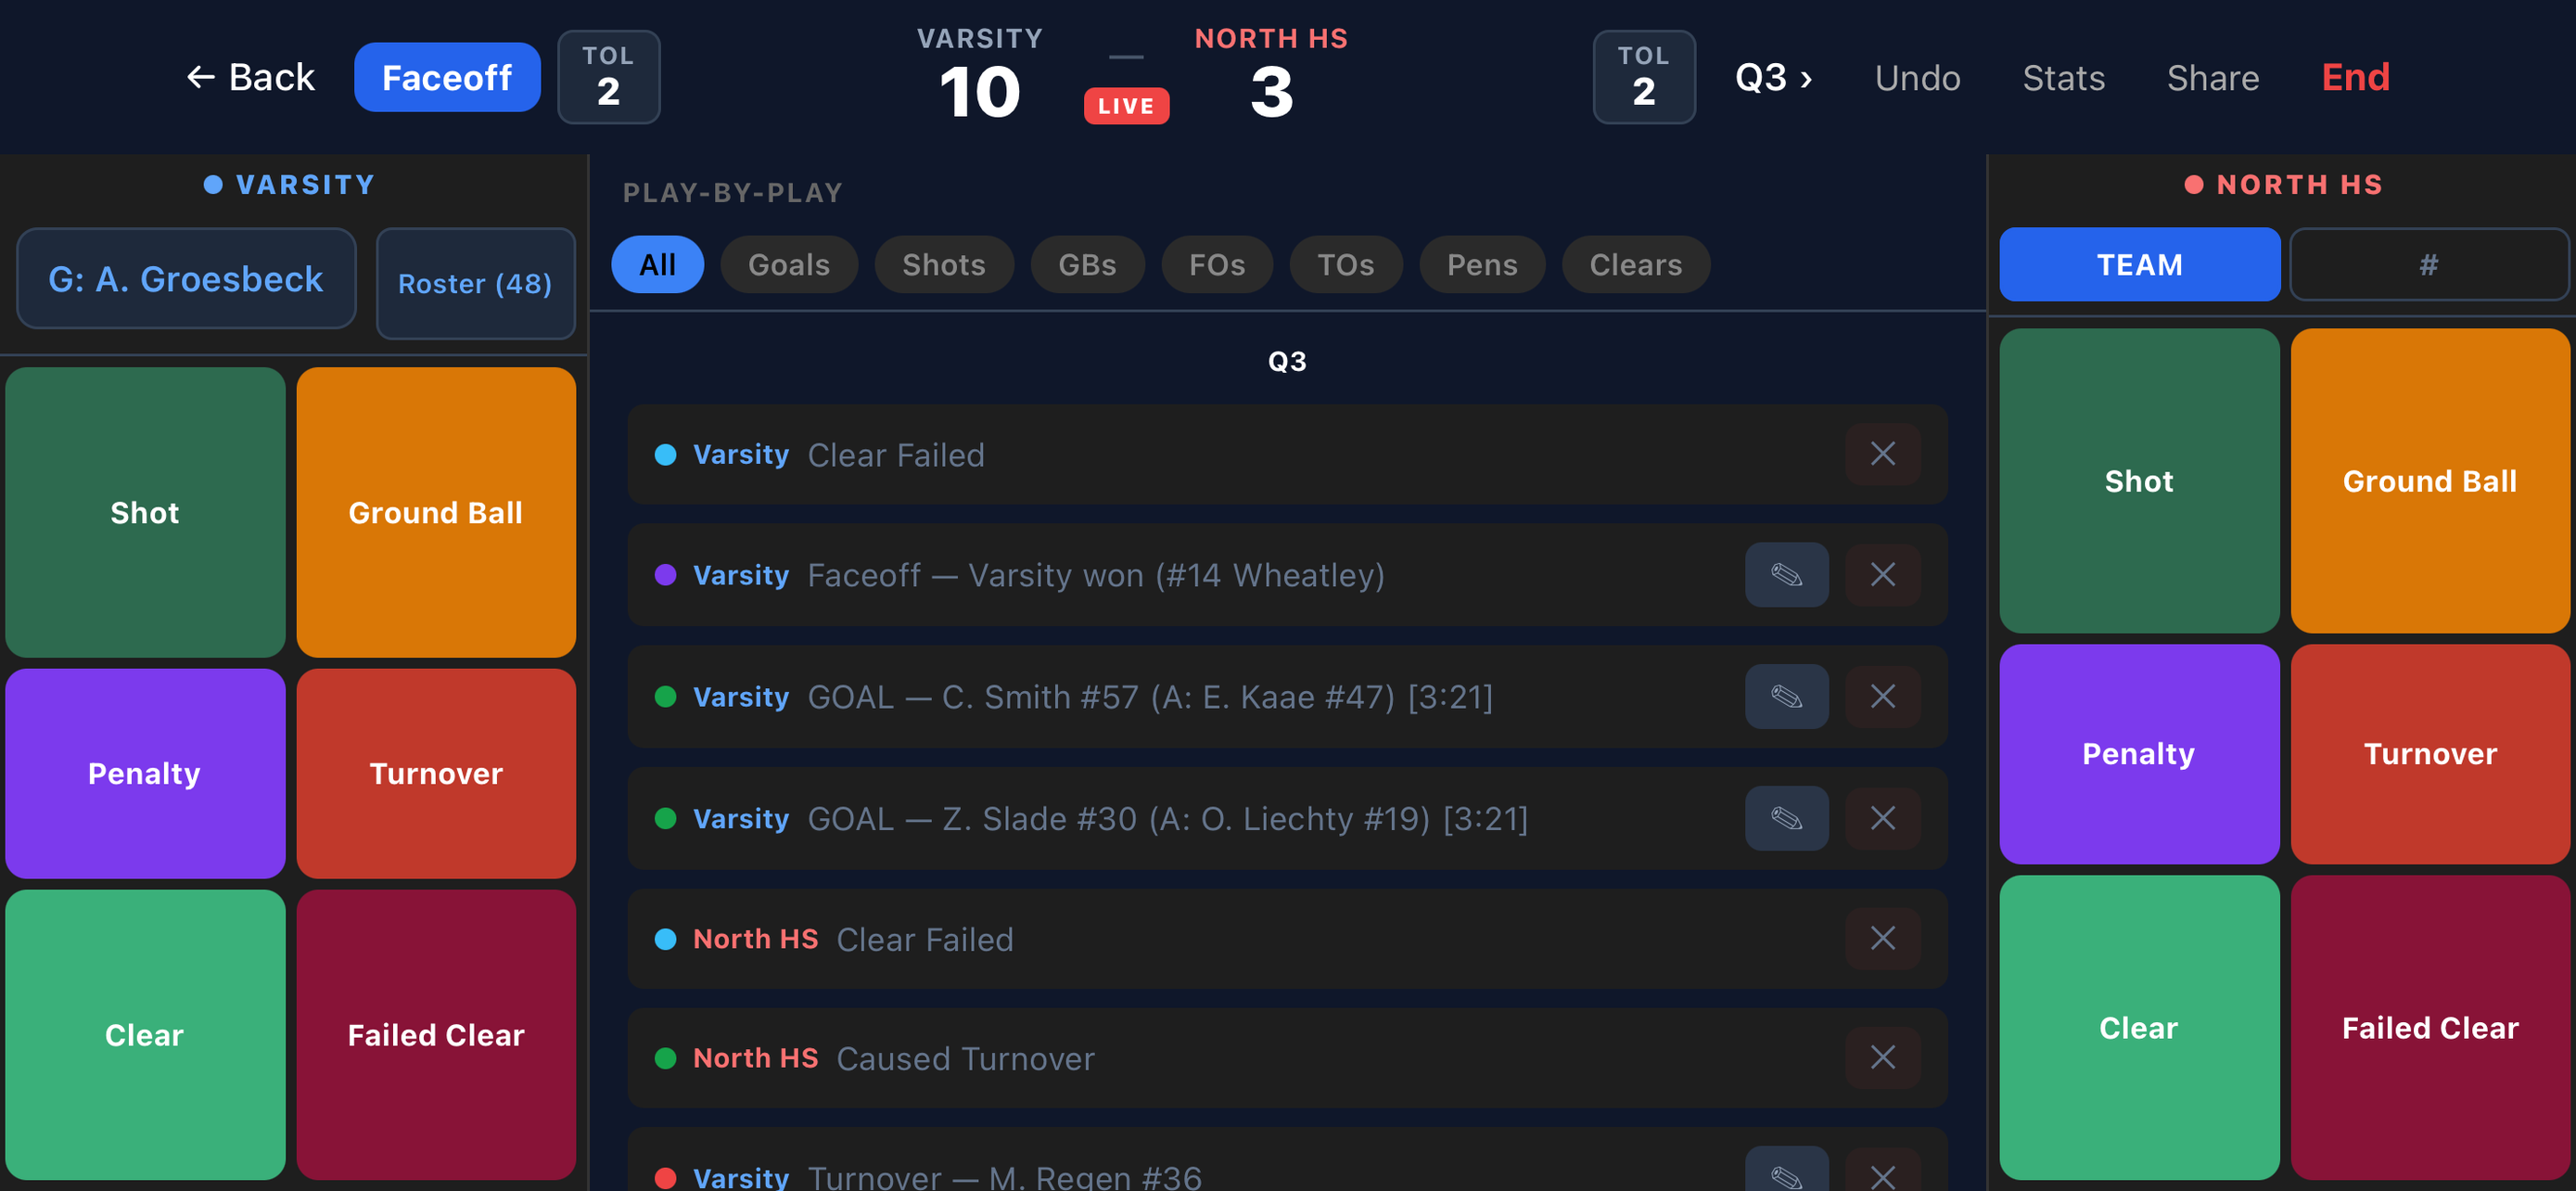
Landscape mode — full stat grid plus live play-by-play
At the top of your team's side of the tracking screen, you'll see a goalie button showing the currently designated goalie (e.g. G: A. Groeseybeck). Tap it to pick a different player from your roster. Saves on opponent shots are automatically credited to whoever is set here — make sure it's updated if your goalie changes mid-game.
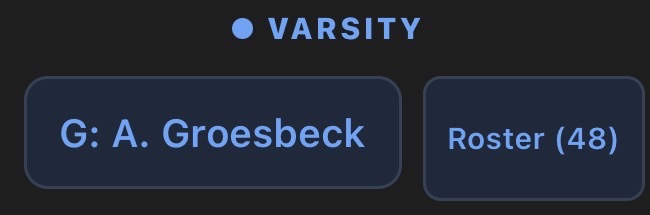
Tap the goalie button to change who gets credit for saves
Tap the period indicator (e.g. Q1 ›) at the top of the tracking screen to advance the period or switch between quarters and halves.
Made a typo in a player's name or entered the wrong jersey number before the game? You don't need to leave the tracking screen. Tap the Roster button on your team's side, then tap the ✎ pencil next to any player to edit their name or number inline. Tap Save and the change takes effect immediately — all stats already recorded for that player update automatically.
Tap Undo to remove the last event. You can also tap any row in the Play-by-Play (Stats screen) to edit or delete individual events.
Tap End in the top-right corner of the tracking screen to mark the game as final. You can also mark a game final directly from the schedule without entering the tracking screen — tap ⋮ → Mark as Final.
If you tap ← Back before ending the game, Statty will ask whether you want to mark the game final before leaving. Choose End & Leave to finalize it, or Just Leave to exit and come back later. The game must be marked final for season stats and the public page to reflect the result.
Tap the ⋮ on any game card to access all options for that game.
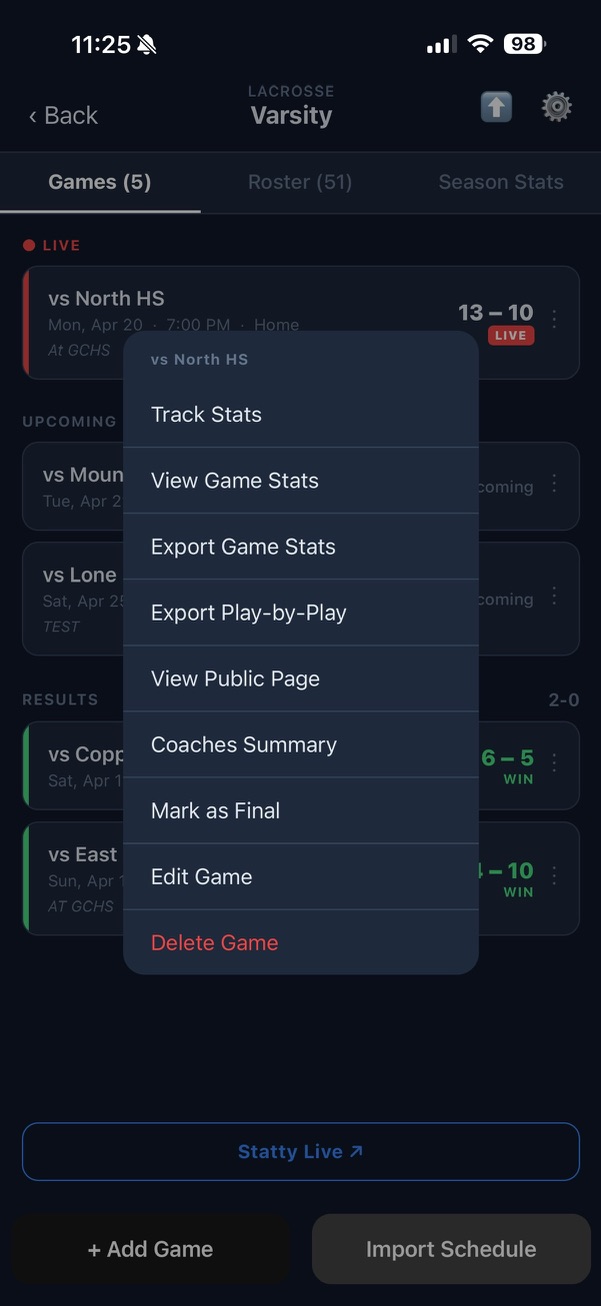
The full game menu
| Option | What it does |
|---|---|
| Track Stats | Opens the live tracking screen. |
| View Game Stats | Opens the full stats screen in read-only mode — useful for reviewing without accidentally adding events. |
| Export Game Stats | Export player stats as a game report (.csv) or pipe-delimited stats file (.txt). |
| Export Play-by-Play | Export a chronological text log of every event in the game. |
| View Public Page | Opens the fan-facing game summary in the browser — score, plays, and basic stats. |
| Coaches Summary | Opens a coaches view showing the key stat differential tiles. Good for sharing with staff. |
| Mark as Final | Marks the game as finished without entering the tracking screen. |
| Edit Game | Change opponent name, date, time, or location. Does not affect recorded stats. |
| Delete Game | Permanently deletes the game and all its stats. A confirmation is required — this cannot be undone. |
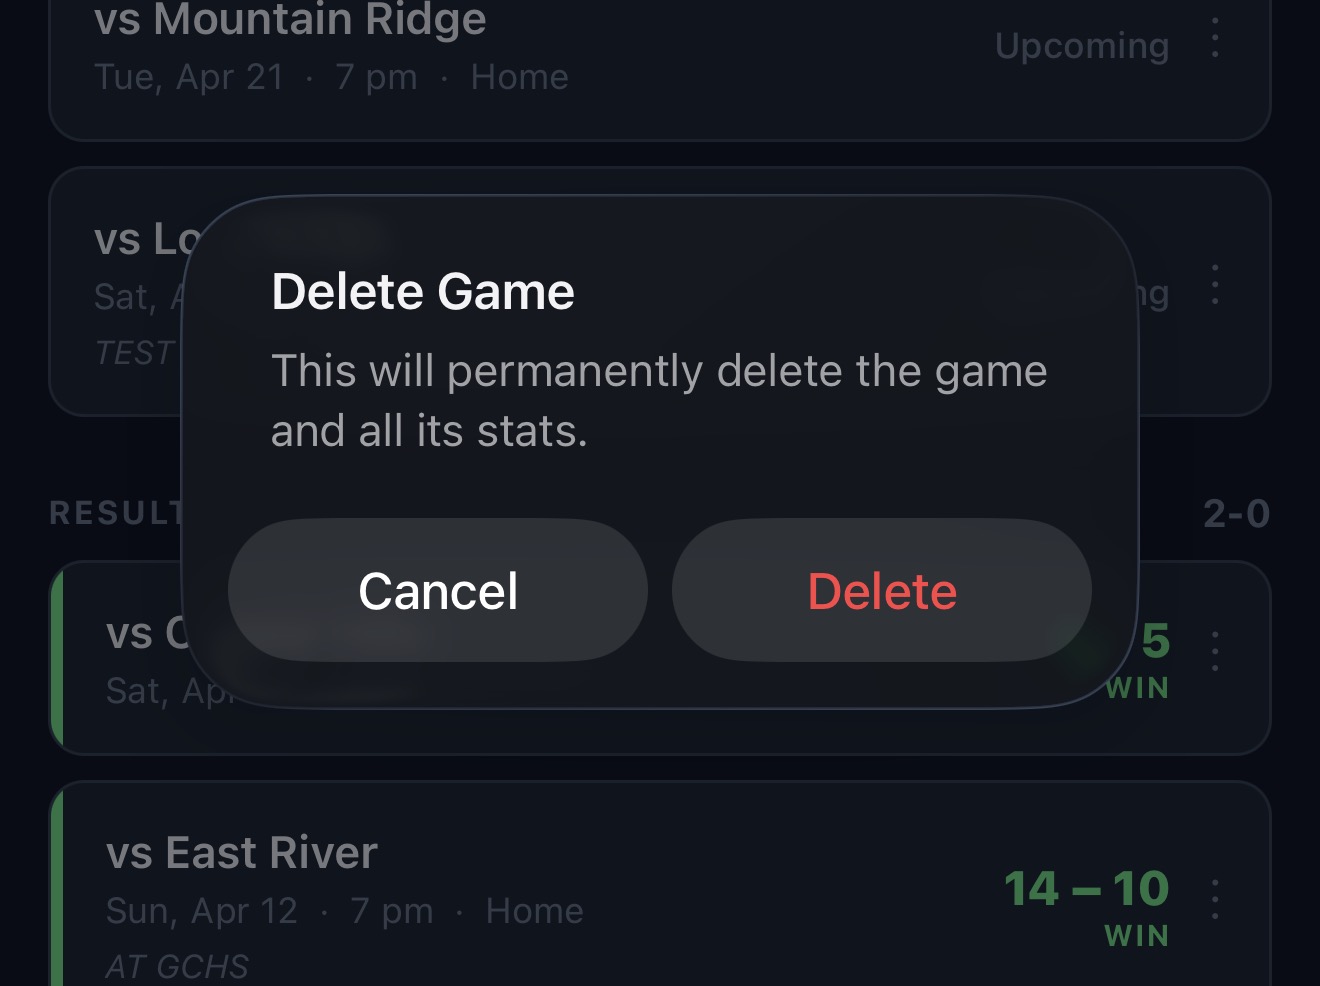
Deleting a game is permanent — Statty asks you to confirm first
Section 5
Here's what each button tracks and how the flow works, for each sport Statty supports.
| Button | What it tracks | Flow |
|---|---|---|
| Shot | Shots, shots on goal, goals, assists, saves, goals allowed | Result (Goal / Saved / Missed / Blocked) → Shooter → Assister & Time remaining (goals only) |
| Ground Ball | Ground balls for a player | Pick player |
| Faceoff | Faceoff wins/losses | Our player → Opp player (if tracking) → Winner |
| Turnover | Turnovers and caused turnovers | Who turned it over → Who caused it (optional) |
| Penalty | Penalties and penalty minutes | Category → Foul type → Duration → Time remaining. Check Non-Releasable for penalties that don't end on a goal — shows as (NR) in the play-by-play. |
| Clear | Clear attempts and success rate | Successful / Failed |
| Button | What it tracks | Flow |
|---|---|---|
| 2-Pt Shot / 3-Pt Shot | Field goals, three-pointers, points, assists, shot locations | Pick shooter → Made or Missed → if Made: pick assister (optional); if Missed: tap court to pin location (optional) → Log Shot |
| Free Throw | Free throw attempts and makes, points | Pick player → Made / Missed |
| Block | Blocked shots — logs the FGA, block credit, and rebound in one action | Pick blocker → pick shooter (optional) → who got the rebound: Us / Them / Unknown → Log Block |
| Off Reb / Def Reb | Offensive and defensive rebounds | Pick player (optional) |
| Steal | Steals for a player | Pick player (optional) |
| Turnover | Turnovers for a player | Pick player (optional) |
| Foul | Personal fouls — also increments the team foul counter. Offensive fouls auto-log a turnover for the same player. | Pick player → Foul type (Personal / Offensive / Technical) |
Basketball shots use a two-step screen to keep things fast during live play.
Tap Block on the opponent's side when they block one of your shots. Tap Block on your side when you block one of theirs. Statty automatically attributes the shot attempt, block credit, and rebound to the right team.
After picking the fouling player, Statty asks you what kind of foul it was:
Every personal foul you log automatically increments the team foul counter for the current period. The counter displays at the top of the tracking screen so you can see at a glance when the opposing team is in the bonus. It resets when you advance to a new period.
Section 6
The top of the opponent column has four controls that determine how opponent stats are recorded.
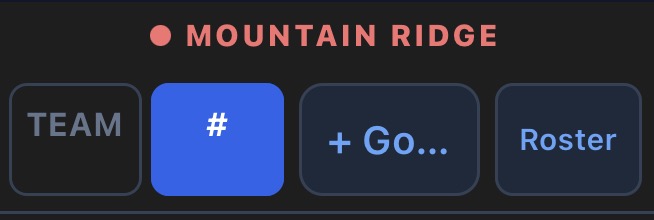
The four opponent tracking controls
| Button | What it does |
|---|---|
| TEAM | Log all opponent stats to the team as a whole — no player picker. Fast and simple. |
| # | Log stats to individual players. Each event prompts you to pick a jersey number. |
| + Go… | Assign the opponent's goalie. Required for saves and goals allowed to be credited to the right player in stats and play-by-play. |
| Roster | Open the opponent roster panel to add, edit, or remove players. |
When TEAM is selected (highlighted in blue), every opponent event is logged to the team as a whole. Tap Shot, Ground Ball, Turnover — it records instantly with no player picker in the way.
This is the right choice when you're focused on your own team's play and just want opponent totals for the box score — shots against, ground balls, turnovers caused, clearing attempts, etc.
Tap the # button to switch to player-by-player tracking. In this mode, tapping any opponent stat button brings up a player picker before recording the event.
Setting up the opponent roster
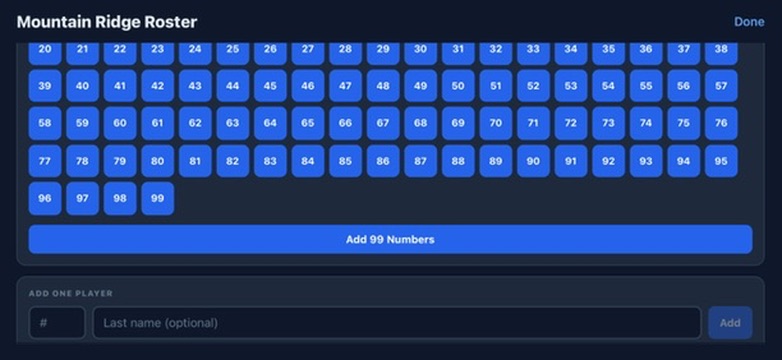
Tap numbers individually or bulk-add a full range — only selected numbers appear in the picker
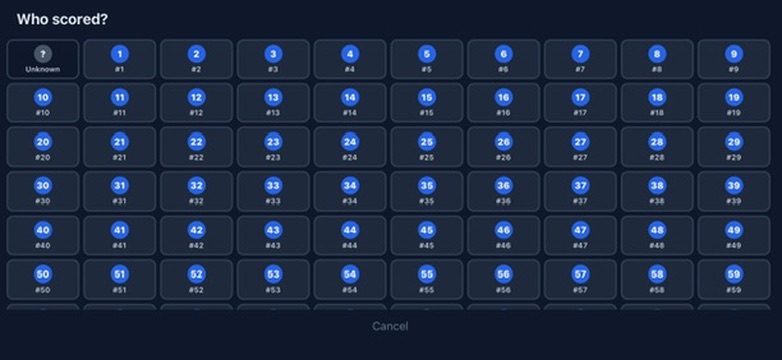
Tap a jersey number to attribute the stat — or Unknown if you missed it
Setting the opponent goalie
Tap + Go… and select the goalie's jersey number. This works in both TEAM and # mode. Once set, every saved shot is automatically credited to that goalie — their save count and save percentage will appear correctly in the stats screen and exports. You can change the goalie mid-game if needed.
Adding player names
By default players appear as jersey numbers only (#21). To attach a real name, tap the ✏ pencil icon next to any player in the roster panel. Enter a first initial and last name, then tap Save. The name will replace the number everywhere — play-by-play, stats screen, and exports.
Removing a player
Tap the ✕ next to any player in the roster panel to remove them. If they already have stats recorded, those events remain in the play-by-play but will show the jersey number only.
You can flip between TEAM and # at any point. Events already recorded stay exactly as they were — switching modes only affects how new events are entered. For example, you might start in TEAM mode and switch to # once you've had a chance to note the key opponent players.
Section 7
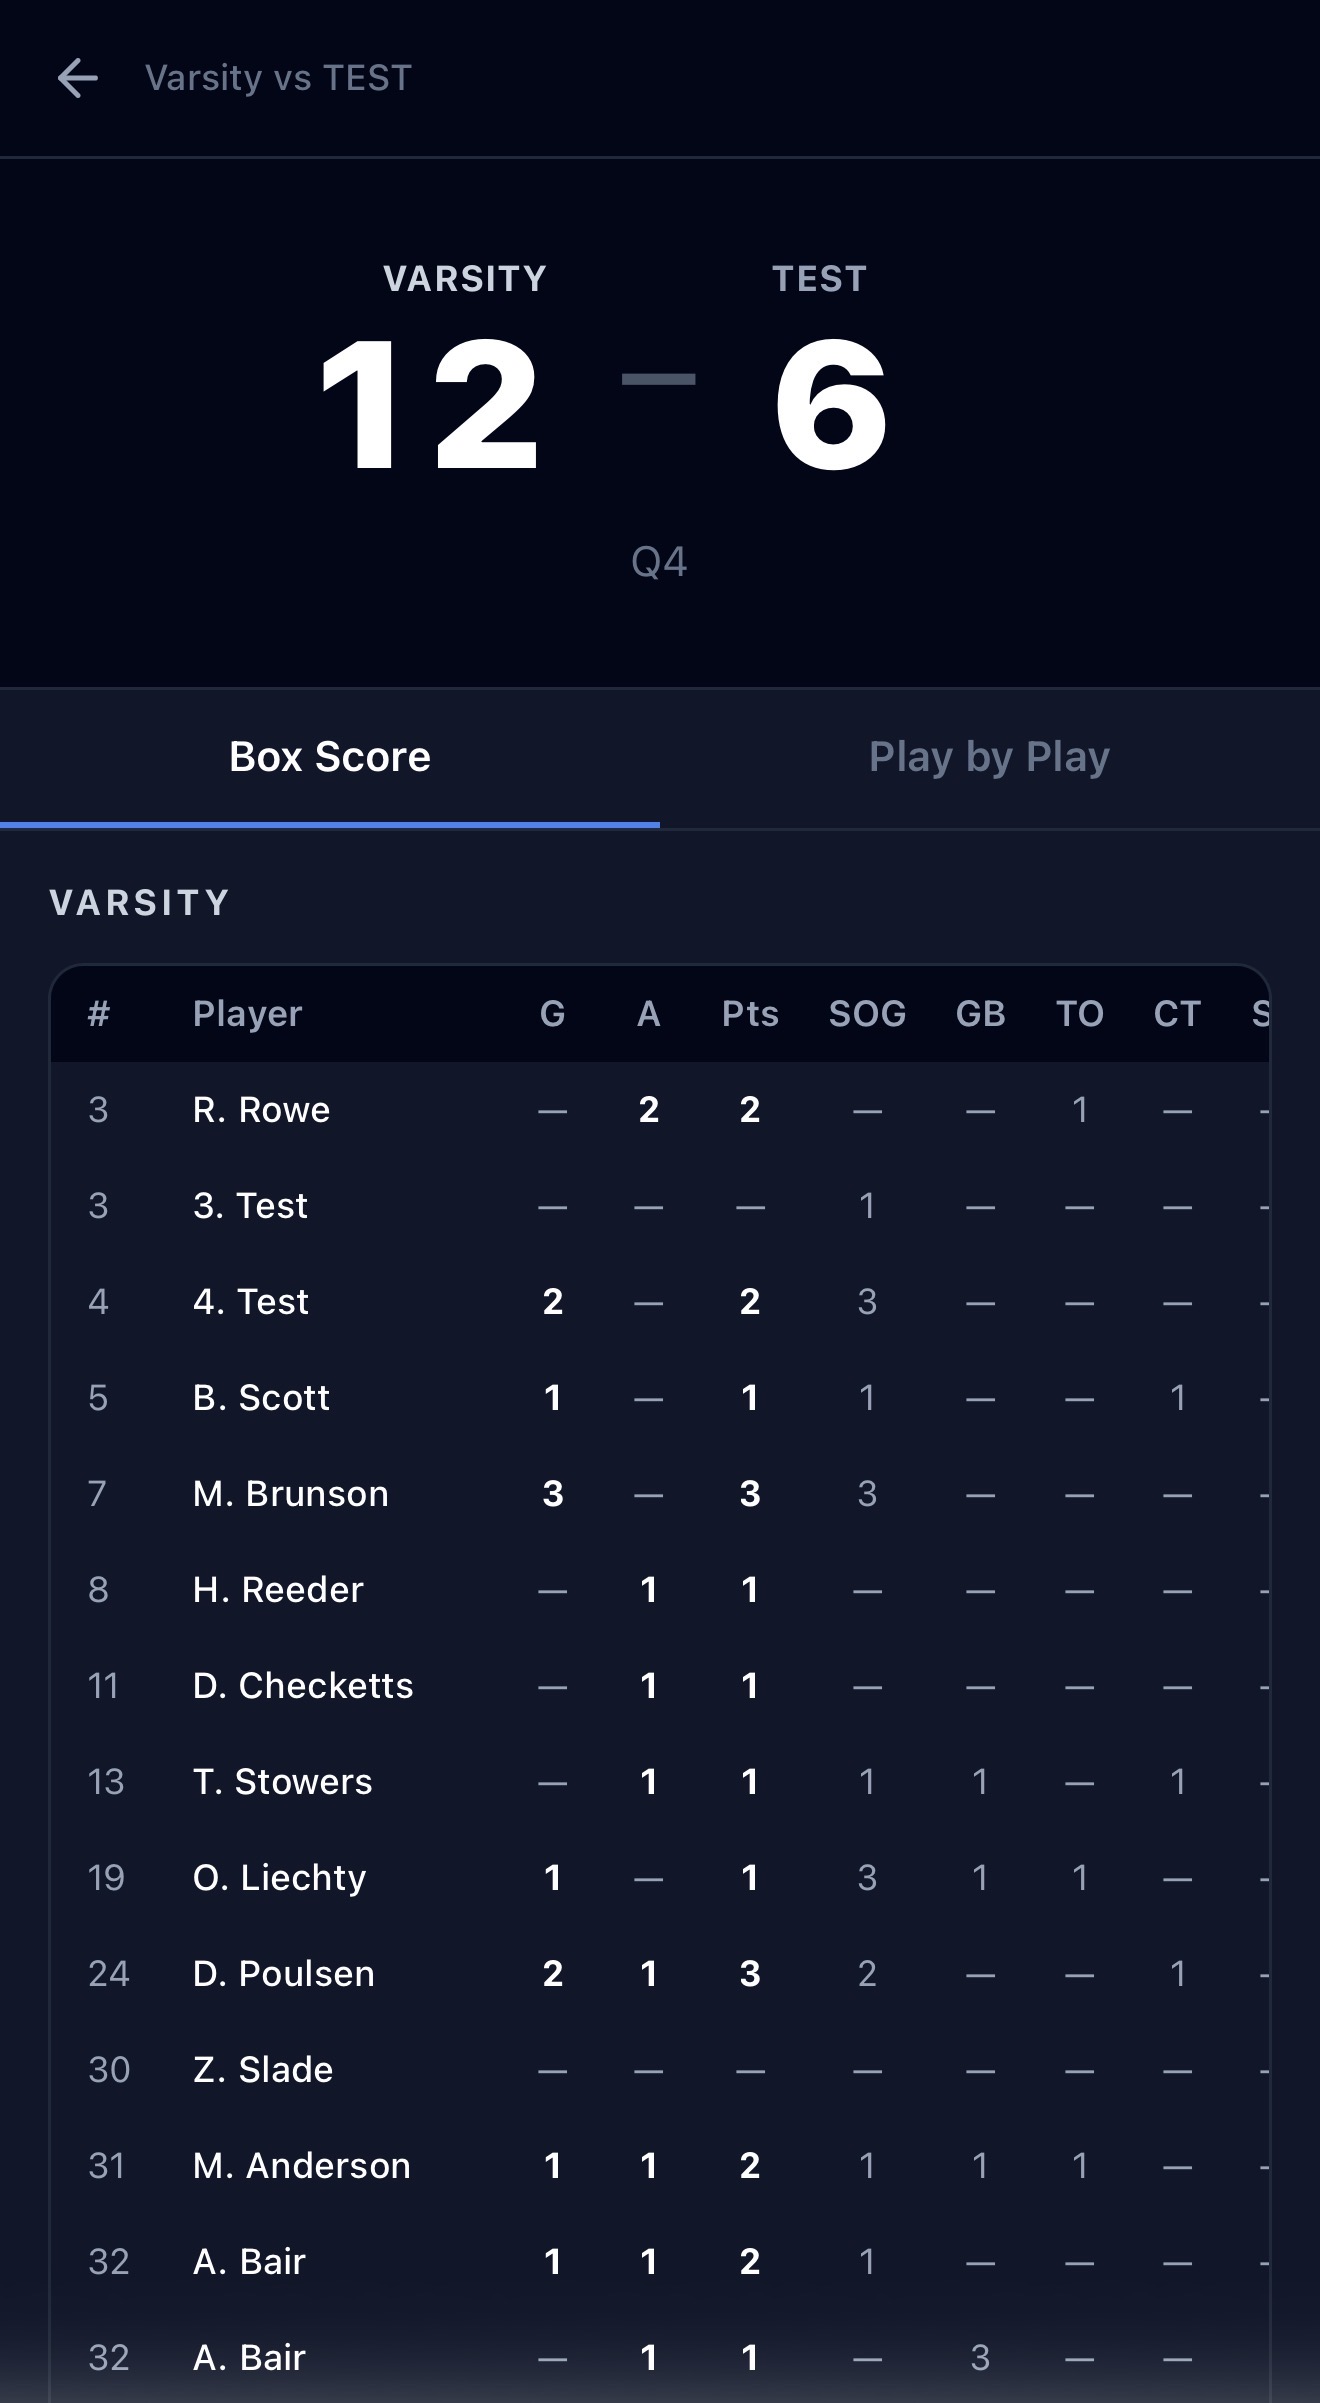
From the tracking screen, tap Stats to open the full game summary. It has two tabs:
Tap Full on the Box Score to expand to all tracked stats. Tap Compact to return to the essentials.
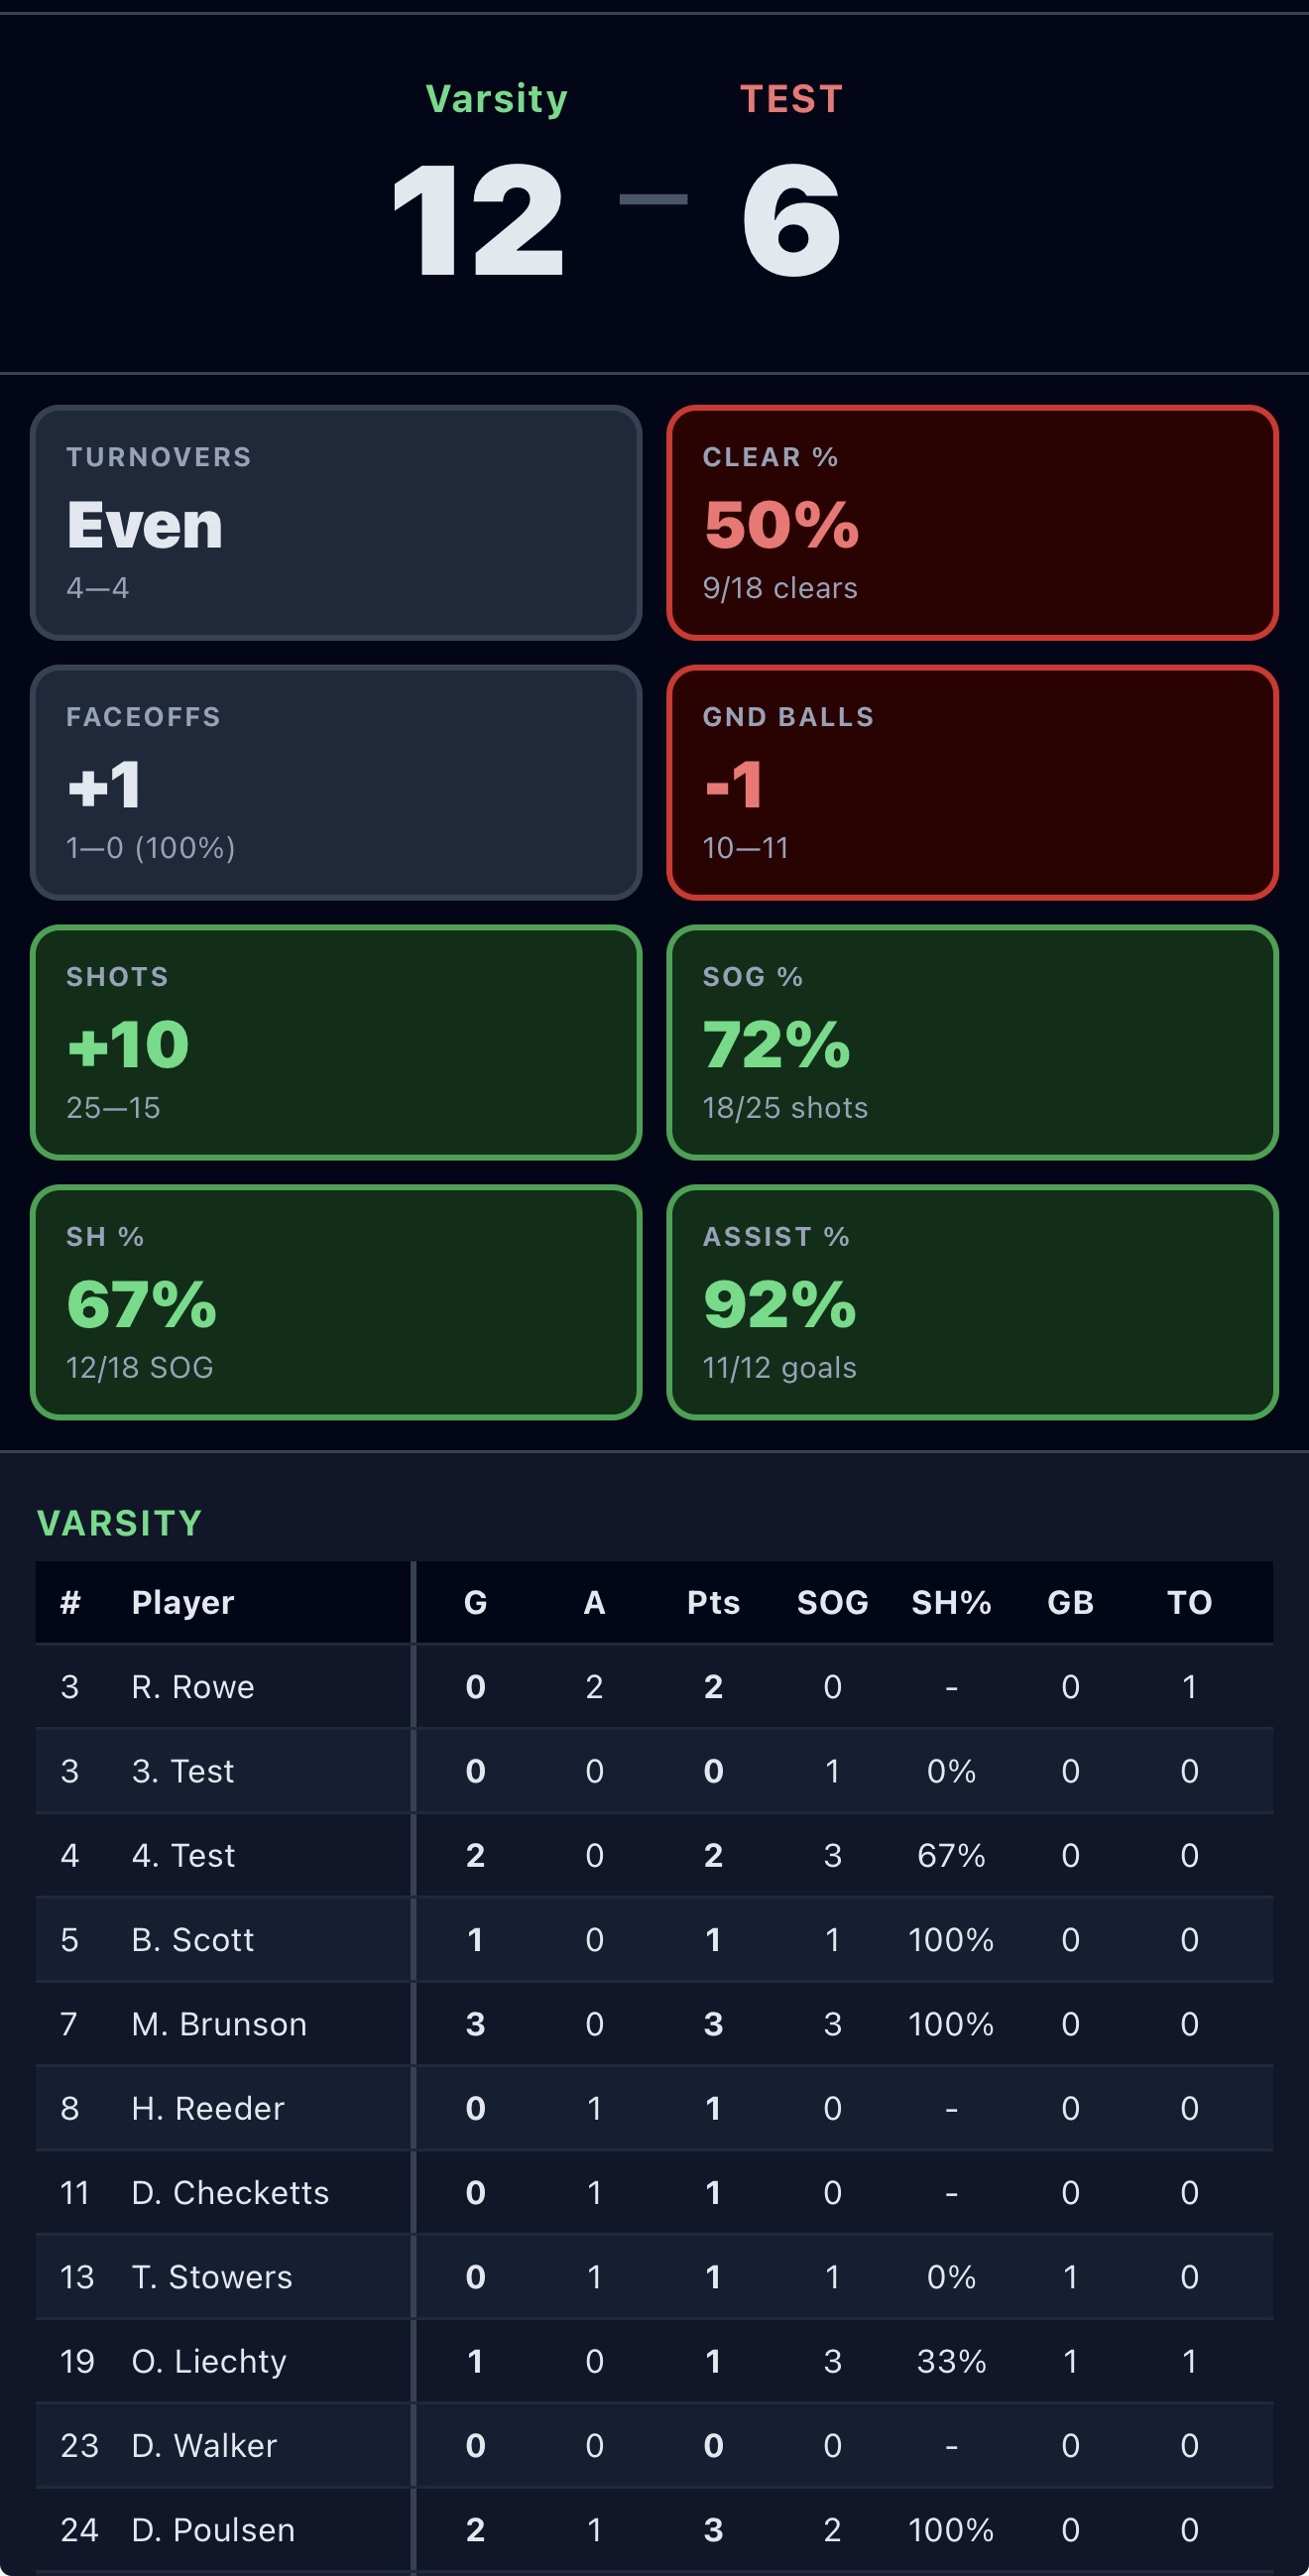
Box Score — differentials at a glance, full player breakdown below
On the program screen, tap Season Stats to see cumulative stats across all final games in the season. In-progress or upcoming games are not included. Stats are totaled per player across every completed game — goals, assists, ground balls, saves, and all other tracked categories.
Every game has a public page at stattyapp.com/game/[id] that fans and parents can follow in real time. The page updates live as you track.
The public game page — shareable with fans and parents
Section 8
Tap the Statty Live ↗ button at the bottom of the program screen to open your public program portal in the browser. This is the same page fans and parents see — your full schedule with live scores and game results.
Tap the ⋮ menu on any game card and choose what you want to share:
Tap the ⬆ share icon in the top-right of the home screen to share a link to your full program page at stattyapp.com/program/[id]. Parents and fans can see the full schedule and tap any game to follow along.
The public program page — full schedule in the browser
The ⋮ menu has two export options:
| Menu item | What you get | Best for |
|---|---|---|
| Export Game Stats | Choose between Game Report (.csv) or MaxPreps Export (.txt) | .csv — Excel or Google Sheets, full player rows and totals. .txt — MaxPreps pipe-delimited format, upload directly to MaxPreps. |
| Export Play-by-Play | A chronological text log of every event | Sharing with media, post-game review, or record-keeping. |
Statty is an official MaxPreps stat supplier. After each game, you can upload your stats directly to MaxPreps in a few taps — no manual re-entry.
How to export and upload:
.txt file.Lacrosse — stats filled in automatically:
| Statty stat | MaxPreps field |
|---|---|
| Goals | Goals |
| Assists | Assists |
| Shots | Total Shots |
| Shots on Goal | Shots on Goal |
| Ground Balls | Ground Balls |
| Turnovers | Turnovers |
| Caused Turnovers | Takeaways |
| Faceoffs Won | Faceoff Won |
| Faceoffs Won + Lost | Faceoff Attempts |
| Saves | Saves |
| Goals Allowed | Goals Against |
| Penalties | Penalties |
| Penalty Minutes | Penalty Minutes |
Lacrosse fields not tracked by Statty — enter manually on MaxPreps:
| MaxPreps field | What it is |
|---|---|
| Minutes Played | Per-player time on field — Statty does not track substitution times |
| Shutouts (goalie) | If your goalie allowed zero goals, mark the shutout manually on MaxPreps |
| Wins / Losses / Ties (goalie) | Based on game result — enter manually for the starting goalie |
Basketball — stats filled in automatically:
| Statty stat | MaxPreps field |
|---|---|
| Points | Points |
| Field Goals Made | FgMade |
| Field Goal Attempts | FgAttempts |
| 3-Pointers Made | ThreeMade |
| 3-Point Attempts | ThreeAttempts |
| Free Throws Made | FtMade |
| Free Throw Attempts | FtAttempts |
| Offensive Rebounds | OffensiveRebounds |
| Defensive Rebounds | DefensiveRebounds |
| Total Rebounds | Rebounds |
| Assists | Assists |
| Steals | Steals |
| Blocks | BlockedShots |
| Turnovers | Turnovers |
| Personal Fouls | PersonalFouls |
Basketball fields not tracked by Statty — enter manually on MaxPreps:
| MaxPreps field | What it is |
|---|---|
| Minutes Played | Per-player minutes — Statty does not track substitution times |
| +/- (Plus-Minus) | Point differential while a player is on the floor — requires substitution tracking |
Section 9
Statty is free to download and set up. Tracking stats for a sport requires an active subscription for that sport — lacrosse, basketball, and football are separate subscriptions, so you only pay for what you use.
Each sport offers two plans:
| Plan | Best for |
|---|---|
| Monthly | In-season use — subscribe when your season starts, cancel when it ends. |
| Annual | Year-round access at a lower per-month rate. Best if you track multiple seasons or run a year-round program. |
When you open a sport you haven't subscribed to, Statty will show you the available plans. Select a plan and tap Subscribe to complete the purchase through the App Store.
If you reinstall the app or switch devices and your subscription isn't showing, tap the ⚙ gear icon → Subscription → Restore Purchases. Your access will be restored as long as the subscription is still active on your Apple ID.
Multiple coaches can track the same game simultaneously — events from both devices are saved to the same game. Changes may take a moment to appear on the other person's screen, so coordinate with your co-coach to avoid logging the same event twice.
Subscriptions are managed through your Apple ID — go to Settings → Apple ID → Subscriptions on your iPhone to view, change, or cancel at any time. Cancelling takes effect at the end of the current billing period.
If your subscription expires or is cancelled, access to that sport is paused. Your data is preserved in the cloud — all your programs, rosters, and game history will be waiting when you resubscribe. Resubscribing restores full access immediately.